Creating presentations using PowerPointby Alan Zisman (c) 2006
Also available in Romanian, translated by Web Geek Science, Maltese translation provided by GarciniaCambogiaReviews.ca. Mongolian translation by Chinua Dalan. Indonesian translatation by CameleonJohn. Irish translation by travel-ticker.com. German translation provided by Gameperiod.com. Ukrainian translation by BestReviewsBase. Spanish translation by MrKortingscode.nl. Portuguese translation by Artur Weber. Russian translation by Pexels Library, Danish translation by Philipp Egger, Dutch translation by Arno Hazekamp, Swedish by Eric Karlsson, Chinese (Traditional) by internetbettingsites.org Digital presentations have become increasingly popular over the past decade, spurred on by Microsoft's bundling of its PowerPoint presentation software with its Microsoft Office software suite. They have moved from sales pitches and corporate year-end reports to university students and on down to high school and now accompany even upper-elementary school student oral reports. Microsoft's PowerPoint has name recognition, but it's not the only software in this product category. Like Kleenex or Xerox, it has become almost a generic name. And it has become a bit of a cliche, with too many presentations using the same generic PowerPoint templates while a speaker drones on and on. It has been stereotyped as 'PowerPointlessness'. PowerPoint is not the only digital presentation software, however. Many Mac users are now using Apple's Keynote, for instance. And the free, open-source OpenOffice.org/LibreOffice includes Impress, a PowerPoint-compatible module. (See my tutorial on using Impress). Before you get started Plan ahead. Think about the purpose of your presentation and your audience. Are you wanting to create a standalone photo display that is intended to run unaccompanied? A report combining text and images (and optionally sound or video) to accompany an oral report or discussion? Do you already have the images (and optional music and video clips) that you need? Think about your text. Your presentation should not be too text-heavy. Text in a presentation should present an outline of what you're planning to say-- not actual paragraphs of content. Like an outline, it shows the main points- a summary. In fact, you may want to write out an outline before you begin entering anything into your presentation-- though there's also an outline mode in your presentation software. Alternatively, I encourage users to prepare a list of questions; each question (and an outline of the answer) can easily become a slide in the presentation. Getting started Note: I am preparing this tutorial using the version of PowerPoint included with Microsoft Office 2000 for Windows; if you have a different version of either the Windows or Mac version of MS Office, you may see different dialogue boxes (etc). Remember-- most software options are discoverable. If your software looks different from this, feel free to explore and experiment. When you start PowerPoint 2000, you should see a dialogue box offering several choices: 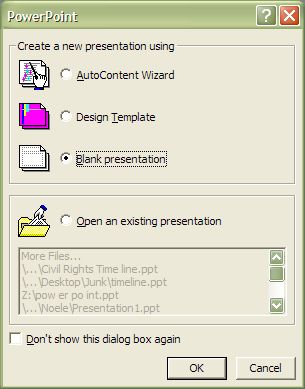 Many people use one of PowerPoint's templates... if you choose the Design Template option, you're presented with: 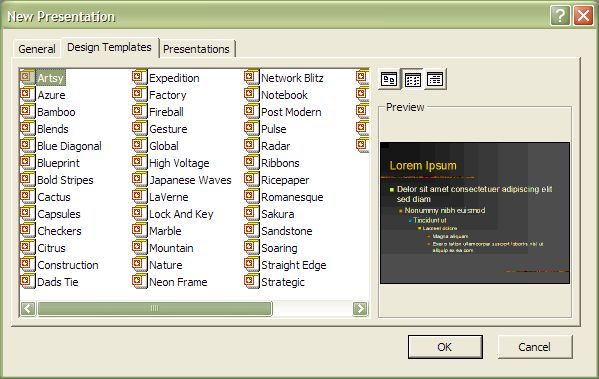 As you can see, PowerPoint includes a large number of templates and presentation designs. You're welcome to pick them. However, these premade templates have been over-used. Instead, for this tutorial, we're going to start with a blank presentation design, and then customize backgrounds (etc) later. Add your content You'll be presented with the New Slide dialogue box. (This will pop up each time you create a new slide): 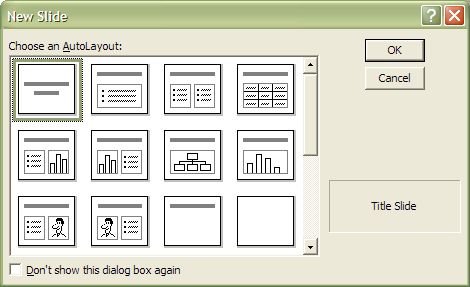 Note that when you select one of the designs, its name appears in the lower-right. As well, note that there are more designs than fit in the box-- you can scroll down to see more and more. I picked the third design in the top-row. The New Slide dialogue box disappears, and my screen includes an outline view on the left and a view of the slide on the right, enabling me to enter text and graphics into the slide. If you decide you want a different slide design, right-click on the slide (outside the various text or graphics areas) and choose Slide Layout from the popup menu. Alternatively, click the Format menu and choose Slide Layout. Either way, you'll see the same dialogue box again (but titled Slide Layout) letting you change the layout. Doing that, I changed to the layout with text on the left and room for a picture on the right. 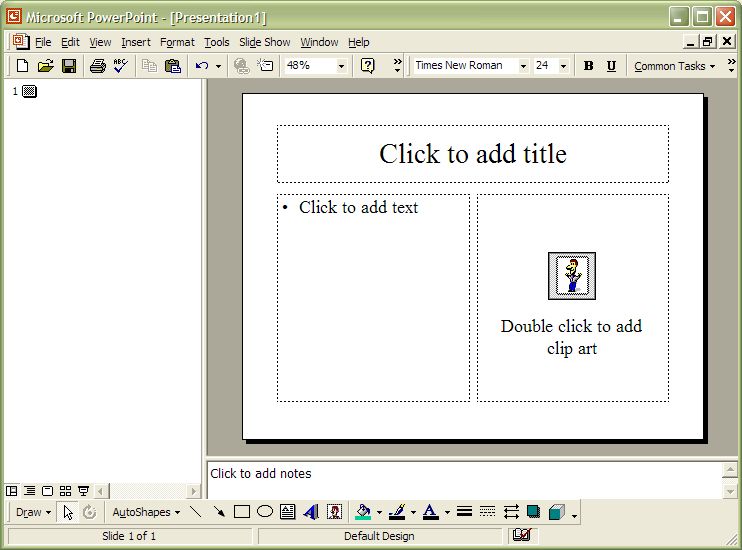 Workflow Some people work best creating an outline-- using the outline pane on the left; each main point will become a new slide, with sub-points showing up as bulletted text. (Press the tab key to make a sub-point- Enter by itself creates a new slide. If you indent too far, hold shift down while pressing tab to move back to the left). Other people are more comfortable typing directly in the slide preview pane. There is a lot of 'eye candy' in presentation software... you can spend huge amounts of time fiddling with fonts, sizes, animations, transitions, backgrounds, and more. My suggestions:
Double-clicking the picture lets you add clipart from Microsoft's Clipart Gallery. You can search for images by category or keyword. While this clipart can be used in your presentation without any copyright issues, again, it is somewhat overused and cliched. You may prefer to use your own photos, or clipart from other sources. To do that, click the Insert menu, select Picture and then From File... 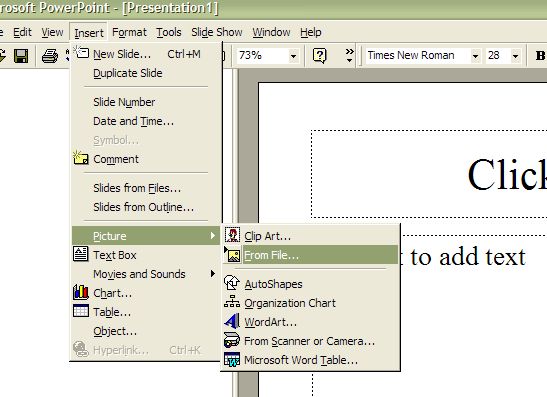 You'll be able to navigate to the folder where you have stored digital photos or other images., starting off in the Windows My Pictures folder. You're able to preview images before choosing one. 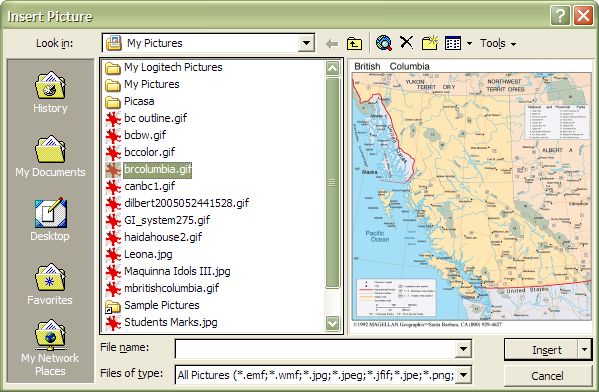 You may have to resize the imported image to fit your design. To add another slide, click the Insert menu then select New Slide. Again, you'll see the New Slide dialogue box to pick a slide design. Repeat as needed. Backgrounds Assuming you've created all your slides and added your text and images, you may decide that you want something other than a plain white background. To change the background on one (or more) slides, select a slide from the Slides list on the left. Then click on the Format menu, then choose Backgrounds. You'll see: 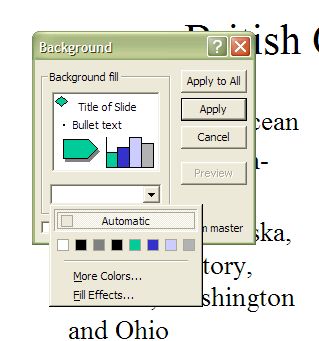 I got the secondary pop-up by clicking the little arrow beside the empty space near the bottom of the initial dialogue box... but even this is a pretty slim set of choices. Click More Colors... to see: 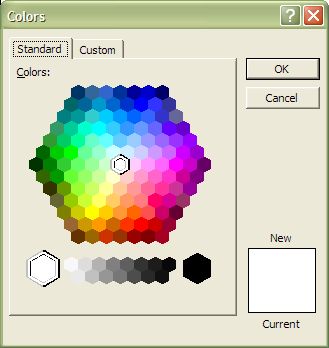 This (or the Custom tab) gives far more colour options. Alternatively, clicking Fill Effects (see above) gives many more choices: 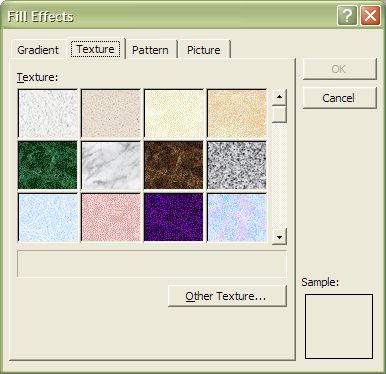 Notice that you have several tabs. Gradients smoothly change from one colour to another, in a variety of ways. You can pick each colour, and then the style of the change. Texture have a variety of backgrounds, such as marble, denim, brown paper, etc. Patterns are (fairly boring) cross hatch and plaids, while the Picture tab lets you select a picture stored on your hard drive. When you select a background, you have the option to apply it to the currently-selected slide or to all your slides. Note that if you select a dark background, you may find that your text becomes less readable. In that case, you can either change the background, or change your font colour. To change the font colour, select a piece of text (you'll need to select each block of text on each slide individually), then click on the Format menu and select Font. You'll see an item allowing you to change the colour of the selected text. 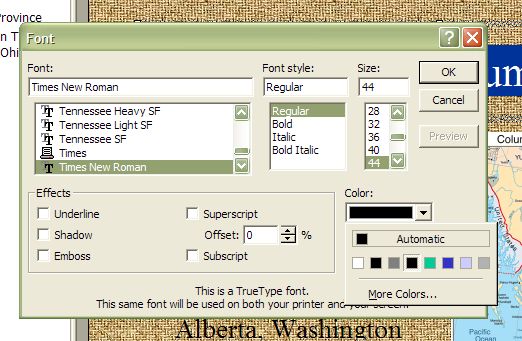 Alternatively, you change the colour of all the Titles or all the Text at once. To do that, click the Format menu and select Slide Color Scheme. Go to the Custom tab, click on an item to change, and click on the Change Color button: 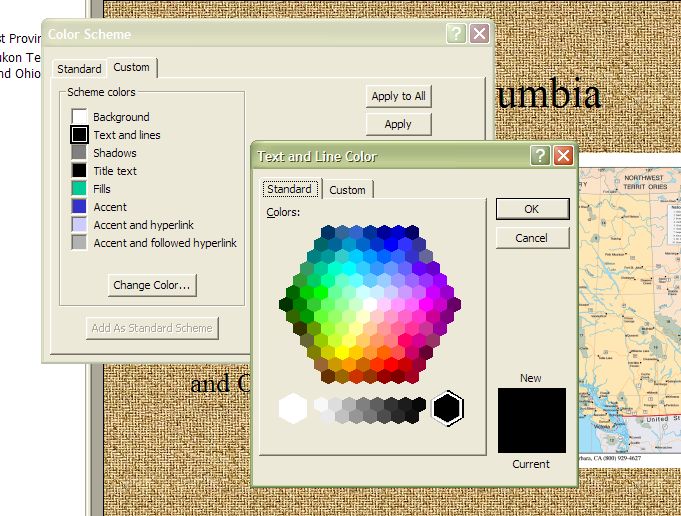 Again, you can choose to make changes only to the current slide or to all slides. Setting Transitions Transitions are special effects that optionally take place when a new slide appears on screen. Tastefully done, they are a plus. Choosing a different, complex transition for each slide can distract from your talk. Moreover, complex transitions may not display smoothly on older hardware-- even if they appear to display properly in the preview. Always check out your transitions by running your slide show. To apply a transition to a slide, select the slide, then click on the Slide Show menu and choose Slide Transition. You'll see: 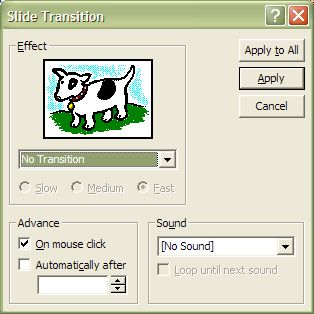 You can check out a list of transitions; each will be applied to the picture of the cow to let you see how it ought to look. You may decide to make the transition (and the change to the next slide) occur when you click your mouse or automatically after your choice of time delay, and you can choose to have an optional sound play when the slide changes. Finally, you can make the transition settings apply to the single, selected slide or to all of your slides. Be careful with animations All the hesitations I have about transitions apply doubly to animations. While transitions are effects that apply to the whole slide when it first appears, animations are special effects applied to individual blocks of text (even to single letters) or to graphics, after the slide has appeared. I'm not going to go into detail about animations; to access these features, first select a piece of text or a picture to animate, then click on the Slide Show menu. Preset Animation gives you a set of presets; Custom Animation gives you more options. If you think you want to use this feature, experiment! Remember, however, that over use of animations slows down your presentation, distracts the audience from your content, and can leave some viewers feeling dizzy. Turning your presentation into a web page You can use PowerPoint to turn your presentation into a linked series of web pages; to do that, click the File menu, then Save as Web Page. You'll be prompted for a location and file name for your saved website... I would strongly urge you to create a folder to hold the many files that will be created. I would also suggest giving your webpage the file name 'index.html', which has special useful meaning to web server programs. 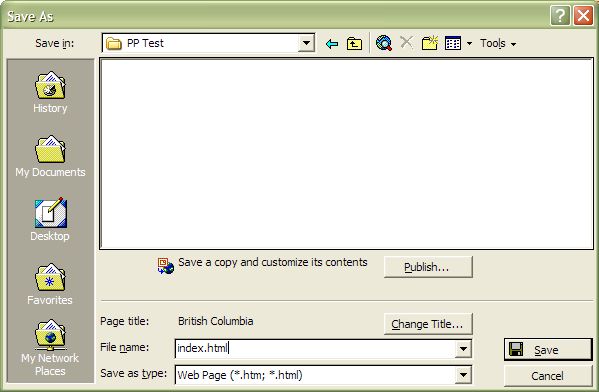 In a moment, your website should be created in the location you selected. You can view this in your web browser by clicking PowerPoint's File menu and selecting Web Page Preview. This will open your site's start page. The Publish button in the Save as Web Page dialogue gives some potentially useful options: 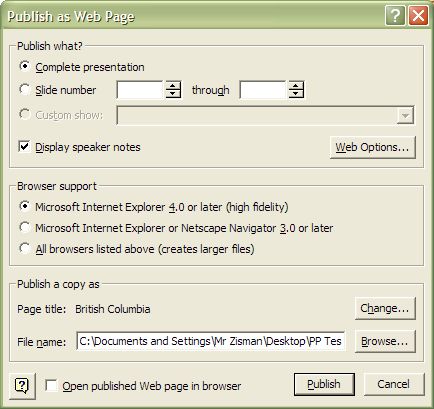 You could choose to only publish selected pages. And I would recommend choosing to support version 3.0 browsers. Printing a handout Choosing to print your publication offers more flexibility than simply printing each slide to a separate page-- though that might be useful if you want to create acetates to show on an overhead projector. Clicking File then Print gets you more options than you might see in printing a word processor document: 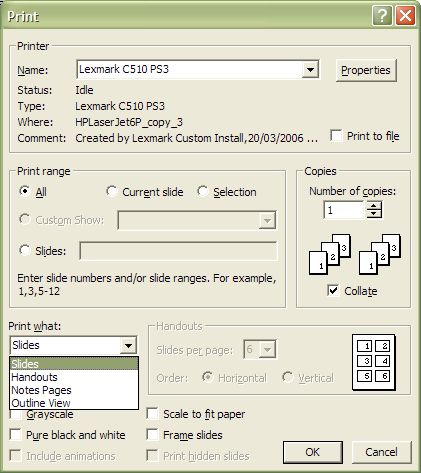 Note that you may want to choose Pure Black and White or Grayscale, and to scale to fit paper, or include a frame around the sides. Also interesting is the option to print just the outline, notes, or handouts. I find printing handout especially helpful. If you pick that, you are given options to choose how many slides per page-- 4 to 6 slides per page make a good option. Nicely, if you choose grayscale or pure black and white, your coloured backgrounds and text colours are discarded-- your handouts will print clearly with black text on a white background. |
|
|
|
|
| Alan Zisman is a Vancouver educator, writer, and computer specialist. He can be reached at E-mail Alan |