An Introduction to Digital Cameras and Photography Pt 2
by Alan Zisman (c) 2017 |
|
Contents: 
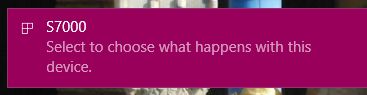
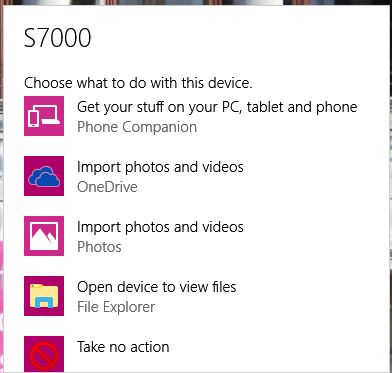
— connecting your camera and computer 
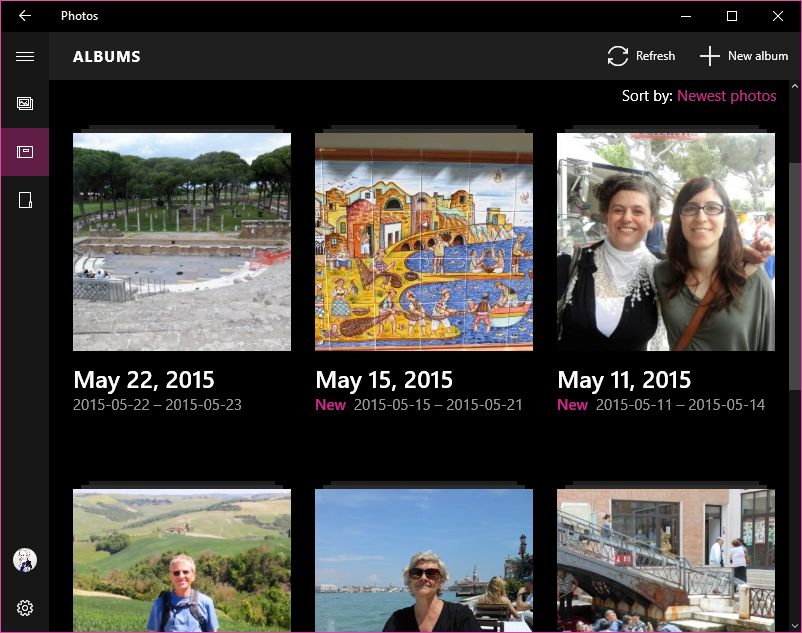
— organize your photos 
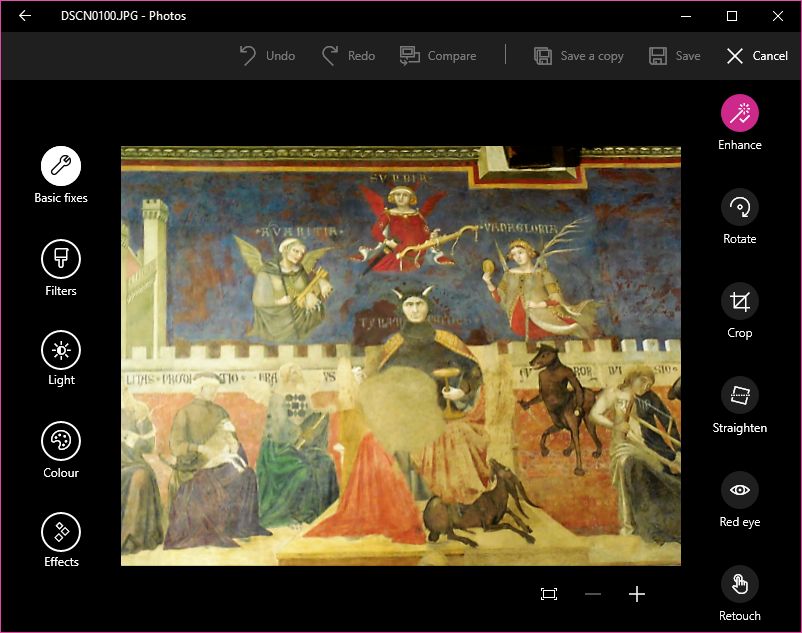
— editing/enhancing photos — about Picasa 
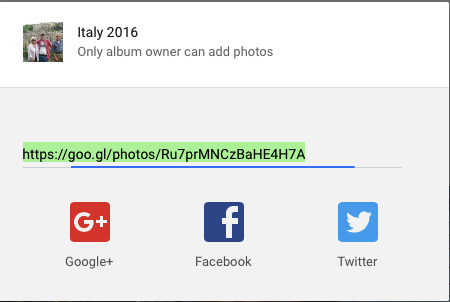
— sharing photos on Facebook, email, etc — printing photos, calendars, books etc — backing up your photos — links |
This
workshop is being given in two parts. The first part introduced you to
your digital camera (or phone/tablet camera) and to
composing and taking better photos with it. Part two looks connecting
your camera to your Windows or Mac computer and using basic software on
your computer to organize your photo collection, make basic edits to
your photos, and using your photos in printed projects like photo books
and calendars. Talking about digital cameras and photography can be confusing and complicated - there are a wide range of types of digital cameras, from simply point-and-shoots to complex SLRs. As well, increasingly people are using their smartphones and tablets to take photos. So no one size fits all! As well, people are storing and editing their photos on Macs and Windows PC, on iPads, iPhones and Android devices and using cloud services. One relatively brief introduction can barely scratch the surface of all of these. What this isn't: It's not going to be make you a professional photographer - it's not going to into detail on using the many manual settings on a pro-level camera or to use the astounding depth of options on pro-level software like Adobe Photoshop. Instead, we're going to take a look at several pieces of software available for Windows PCs and make some recommendations for Mac-users and users of iOS and Android devices. We'll also look at several cloud-based photo storage services and book/card/calendar printing services. |
When you first
connect your
camera - or its memory card - to your
computer, a message may pop up asking how you want to deal with this
newly-connected device - choices can include opening a variety of
different pieces of software, opening the computer's file management
utility (to show you the list of photos), or to do nothing.
Unfortunately, the choice you make will happen each time - and may be
difficult to change after the fact. Here's what I saw the first time I connected my Nikon S7000 camera to my Windows 10 PC - I had only a few seconds to click on the first message. (If you miss it, unplug the camera, plug it in again and try again!) When I clicked it, I saw the scrollable image on the right - including more possible actions and programs than it had room to display, based on the programs installed on my computer. If you don't see a list like this, it may be because you've already chosen what should happen when you connect your camera to your computer... If a list likes this pops up on your computer, it may have somewhat different choices - you probably have a different set of programs installed on your computer that are able to work with photos. |
I prefer having my computer's file management utility (Windows File Explorer on Windows computers, the Finder on Macs) open - this lets me view the photos, copy them to the location of my choice on my computer, delete them from the camera's memory card, etc. without locking me into any particular program on my computer. Choosing that action or 'taking no action' means the computer will treat the camera or memory card as an external drive, letting me open any piece of software to work with my photos - including the file management utility - at some later time. Note that I had to browse through several layers of folders on my camera's memory card to reach the actual photos. If I was displaying the 100Nikon folder in the window, I could have dragged it to the Desktop - this would copy that folder and all the photos in it to my computer's Desktop; from there, I might rename the folder and copy it to my computer's Pictures folder. An alternative to connecting your camera and computer with a USB cable is to pop the memory card out of your camera and plug it directly into your computer - either using a slot built into your laptop or desktop or using a small, inexpensive memory card reader. If I'd done that I wouldn't have seen anything on screen - but the memory card would appear as a new drive in Windows File Explorer letting me quickly get to the same screen as the image on the right. (On a Mac, it would pop up on the Desktop as a new external drive). If you've chosen to have the computer load the photos into some program then you have to learn to work with that program.... |
You can often
improve the
composition of an image after you've taken it
by 'cropping' - cutting off part of the image, to remove distracting or
irrelevant details. (Do this on your computer or tablet). See how cropping improves the original image (a fresco on the wall of the Palazzo Medici Riccardi in Florence): |